Follow the steps below to make your own delicious Dutch cheese. If you have any questions or would like to ask a question about how to make your own cheese, please contact Esther, the cheese maker. Are you happy with this recipe and with your homemade cheese? Please give consider giving a donation. You can also post your photo of your cheese on Instagram and tag @kaasworkshops or write a review as a way to give thanks.
Recipe Dutch Gouda cheese
Make your own Dutch Gouda cheese with this clear and comprehensive manual. Step by step you can make 1 kilo of Gouda cheese at home.
Equipment
- Handkerchief / hairnet
- Chlorine tablets
- Handsoap
- Hand disinfection
- Thermometer
- 1.5 ml syringe
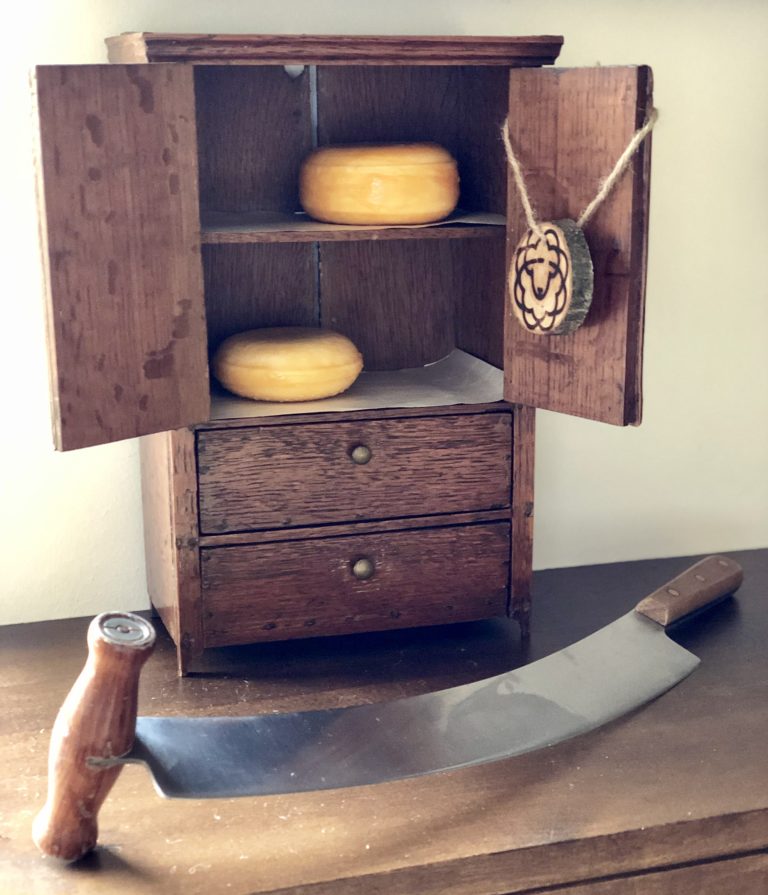
- Curd knife or chef’s knife
- Bulb sieve
- Ladle
- Measuring cup
- Sponge
- Cheese board
- Cheese vat
- Cheese press
- Cheese coating
Don’t have all materials at home? Rent a “Make your own cheese”-package
 If you like to make cheese yourself, but you do not have all the materials, you can rent a package containing: chlorine tablets, 1.5 ml syringe, curd knife, 2 cheese molds, cheese coating, rennet and a cheese press.
Contact Esther and ask about the possibilities of renting
Ingredients
- 10 liter fat milk
- 200 milliliter buttermilk as starter culture
- 2.5 milliliter rennet
- 1.5 milliliter Calcium Chloride
- 300 grams salt
- 1.5 liters water

Need help making cheese?
Al lot of things can go wrong if you start making cheese yourself. Mold on the coating? Bubbles in the cheese? No worries! Esther is happy to help you with making your own delicious homemade cheese.Instructions
Preparation
- Working hygienicallyWhen making cheese, it is important to work hygienically. It doesn’t have to be a surgical operation, but use your healthy mind if you want the cheese to succeed. Get a hairnet (a handkerchief on your head is also super cute and works great), wash and disinfect your hands.Make sure to clean all materials before you start. You can do this by disinfecting all the materials in a solution of chlorine tablets especially for food production.Please note, if you use a cheese net, do not immerse it in a liquid warmer than 35 ° C, because otherwise the net will shrink and will be un-useful.
- Clean the materialsHeat the milk to 29 ° C in a pan on the stove, or by heating it au-bain-marie.If you are using raw milk, heat the raw milk at 72 ° C for 15 seconds first. Make sure that you do not allow the temperature to rise further, because the protein in the milk will then denature and the milk is no longer suitable for making cheese.If you don’t have a large pan, heat up the milk and pour it into a hygienically clean bucket. Make sure the milk will not be to warm.
Make the cheese
- Heat the milkHeat the milk to 29 ° C in a pan on the stove, or by heating it au-bain-marie.If you are using raw milk, heat the raw milk at 72 ° C for 15 seconds first. Make sure that you do not allow the temperature to rise further, because the protein in the milk will then denature and the milk is no longer suitable for making cheese.If you don’t have a large pan, heat up the milk and pour it into a hygienically clean bucket. Make sure the milk will not be to warm.
- Add starter cultureStir the buttermilk into the milk while heating.
- Add Calcium ChlorideIt’s not necessary, but the chance of success is greater if you add CalciumChloride. Add 1.5 ml Calcium Chloride (CaCl2) per 10 liters while stirring. You can use a syringe from the pharmacy for this (it only costs a few cents).If you use raw milk, also add 4.5 ml of nitric.
- Add rennetAdd 2.5 ml rennet while stirring. Stir left for 1 minute and right for 1 minute, so the rennet is thoroughly mixed with the whole milk.
- Let the milk curdleCover the milk with cling film and a add a tea towel over it, so that the milk does not cool down too much. Let the milk curdle for 30 minutes. To see if the milk has curdled properly, draw a “line” through the milk with the thermometer, if whey enters the slot it is good, otherwise let the milk curdle a little further.
- Cut the curdsOnce the milk has curdled properly, gently and regularly cut the curds into small “corn kernels” with the sharp side of the curd knife for about 10 minutes. Cutting the curd is done to let the whey (= moisture) leave the curd. After cutting, let the curd settle for 10 minutes.If you don’t have a curd knife at home, you can also use a chef’s knife.
- Draining whey (1st time)Drain about a third of the whey through the bulb sieve to rest on top of the curd. Scoop the whey off with a ladle. Make sure the curd does not dry out.
- Wash the cheese (1st time)Gently stir the curds with the blunt side of the curd knife. If you don’t have a curd knife, use the ladle. Heat the curd to a temperature of 33 ° C using warm water of 65 ° C . (we call this “washing”) With water at 65 ° C you need a little less than a liter.Slowly add the water while stirring slowly with the blunt side of the curd knife. Keep a close eye on the temperature, because the temperature is leading and not the amount of water. When the temperature is at a constant 33 ° C, gently stir the curds for more 10 minutes for a good washing effect.
- Repeat the draining and washingDrain 1/3 of the whey for the second time. Make sure the curd does not dry out. Heat the curd a second time to 36 ° C. With water at 65 ° C you need about 600 ml. Add the warm water while slowly stirring the curd with the blunt side of the curd knife. Stir the curd again for 10 minutes.
- Let the curd ripenLet the curd “ripen” for 30 minutes. Drain as much whey as possible so you can easily see the curds, but do not let the curds dry.
- Fill the cheese moldDrain as much whey as possible so you can see the curds, but do not let the curds dry. Fill the cheese mold by filling the cheese net in the whey with the curd. Gently press the curd under the whey with the palm of your hand. Fill the barrels exaggerated with a nice big “gnome cap of curd” on top. Add the lid to the barrel and let the barrel sit for a few minutes before straining.
- Place the cheese under the cheese pressPlace the cheese mold under the cheese press. You can use an original press. Alternatively, you can also create pressure by placing a weight on the cheese mold (for example a pan with water).Press for about 45 minutes.The pressing went well if the crust is completely evenly closed. If the crust is not yet completely closed, put the cheese under the press a little bit longer. After the first press, turn the cheese over in the net and press it well on the other side.
Afterwork
- BriningWhen the cheese comes out from under the press, put it in the brine. The purpose of brining is for the cheese to absorb salt.Make a brine bath by adding 200 grams of salt to 1 liter of water.In this lovely bath you let your cheese swim around for 4 hours. No longer, or else you will end up with too salty cheese. Do not forget to turn the cheese halfway through so both sides can absorb the same amount of salt.
- Let the cheese dryRemove the cheese from the brine and let it dry by the air on your own cheese board. When the cheese feels dry and does not leave any moisture marks on the cheese board, you can put the first thin layer of coating on the cheese.
- CoatingAdd the coating twice on both sides (so four times in total). When the coating is dry on one side, coat the other side. Use the soft side of a sponge for this.
- Turn the cheese every dayFor the first two weeks, turn the cheese over on the cheese platter every day. After two weeks, it is enough to turn the cheese every other week.Preferably place the cheese in a damp cellar, where the temperature is around 15 ° C and it is moist. If you don’t have a basement, it is also fine to save the cheese at home at room temperature.
- Mold?Do you have mold on your cheese? Don’t panic, just clean the cheese with a clean tea towel.
- You are finished!The cheese is edible after 6 weeks. If you want an older cheese, leave the cheese to rest longer.
I am excited to try this… I am just getting into making my own cheese and I am excited to try new things…
Dear Heidi, Thank you for your reaction. How did the cheese-making-process go? Will you let me know if the cheese has ripened?
Bardzo ciekawy blog, rzeczowy i wyważony. Od dzisiaj zaglądam regularnie i subsbskrybuje kanał RSS. Pozdrowienia 🙂
Jak miło słyszeć! Jeśli kiedykolwiek będziesz w pobliżu Elburga, serdecznie zapraszamy na warsztaty serowe!
Mogę też przyjść do Ciebie. Wtedy zrobimy ser we własnej kuchni